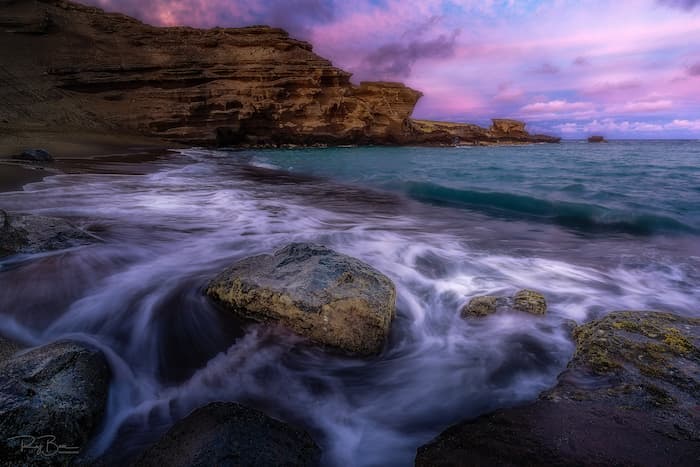
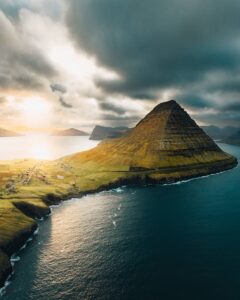
1) Software Used: Adobe Lightroom and Photoshop
2) In Lightroom, my workflow begins by straightening the horizon line and cropping the image to the desired aspect ratio.
3) Set the White Balance to Daylight.
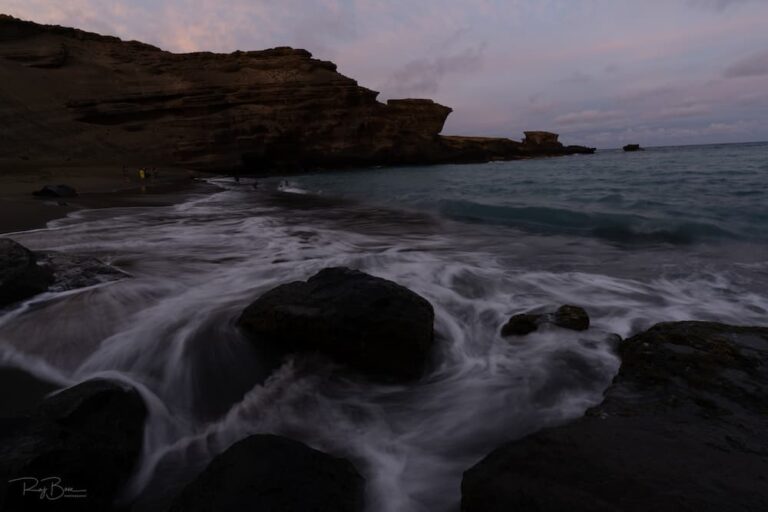
4) Intentionally underexposing the shot by 1 stop allows me to maintain an exposure time of 0.4 seconds.
5) Increase the exposure by 1 stop.
6) Reduce the highlights and open up the shadows.
7) Set the white and black points helps establish the desired tonal range.
8) Increase the vibrance adds a touch of saturation without overdoing it.
9) Tone Curve adjustments, reduce the highlight point on the right side to avoid blowing out the highlights in the ocean waves.
10) In the HSL (Hue, Saturation, Luminance) panel:
- Decrease the Aqua hue by 1 and the Blue hue by 10.
- Increase the Aqua saturation by 16.
- Raise the Blue luminance by 2.
11) For sharpening, use the following settings: Amount – 48, Radius – 1.0, Detail – 25, Masking – 52.
12) Masking options, I apply a radial filter over the rocks to create a dodge and burn effect.
13) Use linear gradient on the sides and corners to slightly reduce exposure and saturation.
14) Moving on to Photoshop, I utilize the clone and content-aware fill tools to remove any tourists from the scene.
15) Employing Luminosity Masking with the Propanel Plugin, dodge and burn to enhance specific areas.
16) To ensure a smooth transition from shadows to highlights without any halos around the edges of rocks and cliffs, apply Gaussian blur only to the highlights.
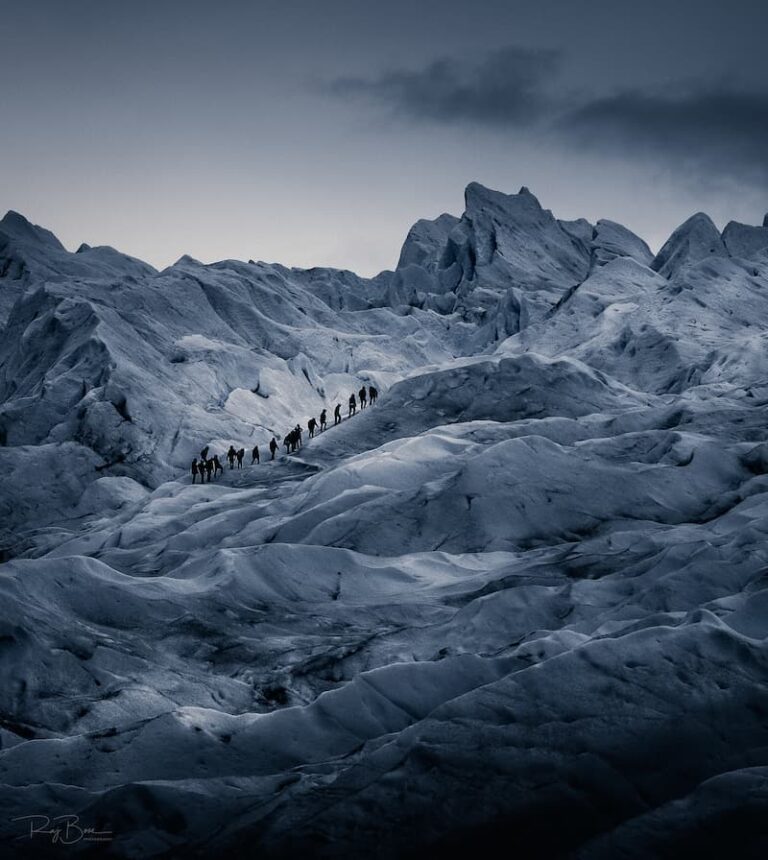
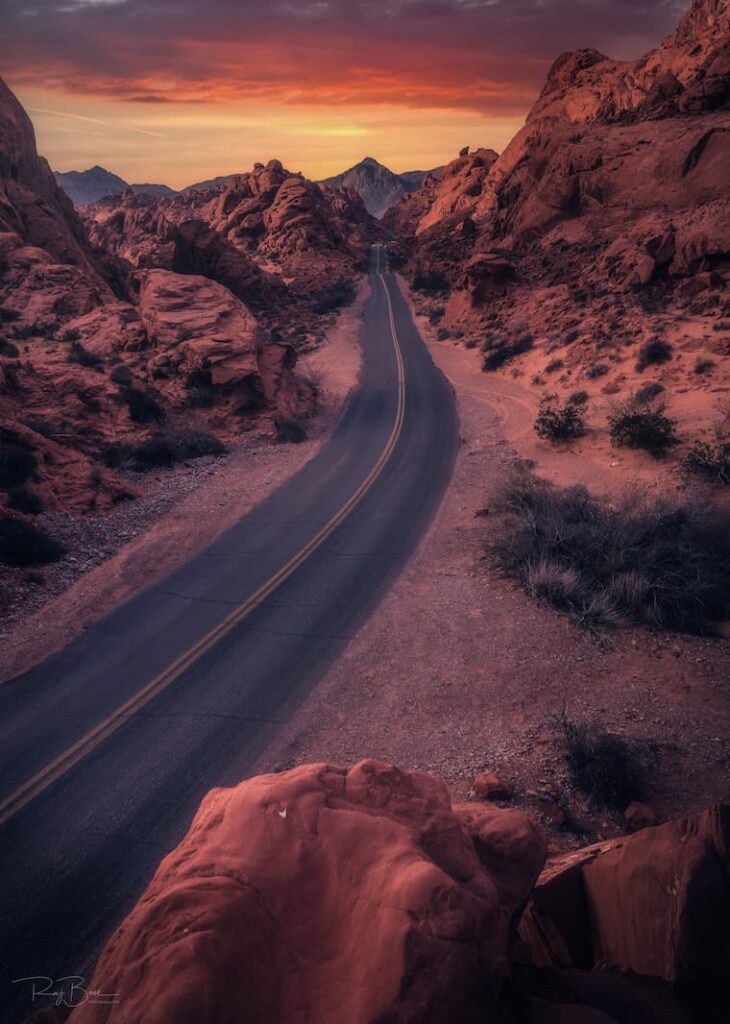
Throughout my editing process, my aim is to create drama and a dreamy atmosphere while maintaining the natural essence of the scenery. I avoid excessive adjustments, which is a common mistake made by many.
