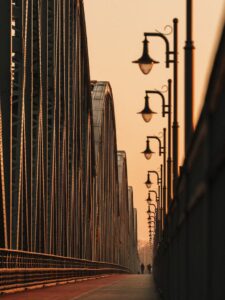
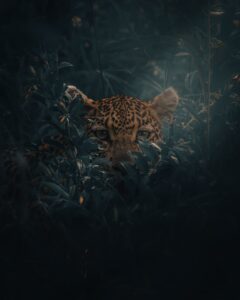
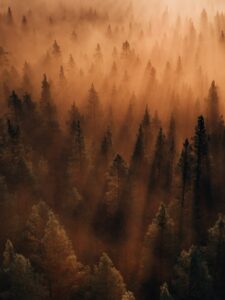
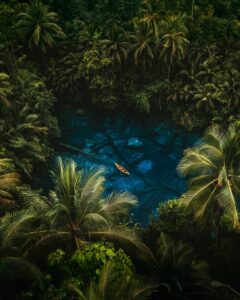
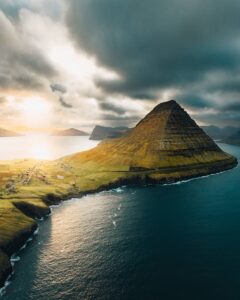
Essentials of color grading, calibration, and localized editing to transform your images

With Long-Nong Huang, in collaboration with ColorPro Talks Mini

I captured the picture below in Mount Bromo (East Java). The image features a lovely old Land Cruiser against a cloudy background with low contrast. Since it looked flat, I followed seven steps to bring the image back to life. You can find the basic steps below, while in the video, you can watch how I edited this photo and other examples in depth!  


A good composition and color palette makes photos look dynamic and aesthetic.

1) In this case, I corrected the image and cropped it to cut off the sky completely using a 4:5 ratio. In this sense, when cropping my images, I always keep in mind these two rules:

The golden ratio (1.618 to 1) is everywhere in nature and can help you lead the viewer around your image in a naturally striking and balanced way. You do not need to apply any numerical calculations to use this technique. Being aware of such a pattern, trying to find it in nature, and composing your images according to the spiral arrangement can be enough at the beginning.

The rule of thirds is a simplification of the golden ratio. It is easy to visualize as our cameras and editing software can help us to use this rule. To apply this compositional rule, place two horizontal lines on your landscape, one at 1/3 and the second at 2/3. Then place two lines vertically, again at 1/3 and 2/3. As a result, you will get a grid that divides your scene into nine rectangular areas. To use the rule of thirds, place your subject at one of the intersecting points. By doing so, the image becomes more aesthetically pleasing.

2) Next, I brightened the image up because the original was a little bit dark (exposure +0,95) and also went a bit more to the green side (tint -18).

3) To start giving the image my color style and add contrast, I used the Dehaze slider (-19), and I also took down a bit of Clarity to make it softer (-20).

4) I used the tone curve to enhance the contrast further. I created an S shape and was especially interested in darkening the shadows and the mid-tones. Since the image looked too bright for my taste, I lowered the exposure from +0,95 to +0,85.

5) Next, I took down the highlights (-6) and the whites (-27). I also took up the blacks to make the image more versatile to edit later (+52).

6) Before the color mixture, I went to the Calibration menu. I wanted the shadows to be a bit more green. So I took the bar to the left (-7). The Red Primary made the car a bit more yellowish-orange while making the background warmer (+43). The Green Primary splits the colors between the orange and the green tones. Pushing it to the right makes the green tones colder, or we can bring them closer together. In this case, I took them closer together, but not much (-16).

7) After these adjustments, the image still lacked a bit of contrast. So I worked with localized editing in the foreground, subject, and background, where most of the magic happened! Watch the last example in this video for the full breakdown! 

Discovering Beauty with ViewSonic ColorPro VP3881a

Nothing fulfills me more than exploring the breathtaking beauty of nature and capturing these moments on video. Back in my studio, the ViewSonic ColorPro VP3881a monitor, with a 38” widescreen, offers an expansive view of my timelines.

The monitors, offering bright and vibrant colors with precise color accuracy and 100% coverage of sRGB and Rec. 709 for videos, enable precise color grading, allowing me to transform my RAW footage into something that looks lively and cinematic!

THE LATEST STORIES

WRITEN WITH PASSION TO INSPIRE YOU
@jujushoots - Fukuoka

Henry Chow (@jujushots): Creator based in Australia

Photographer Henry Chow is renowned for capturing the soul of travel destinations, and his latest journey through Japan is no exception. From vibrant cityscapes to serene nature, he highlights ten iconic photography spots, sharing expert insights, creative process, and practical tips to inspire photographers seeking to elevate their work.

NataschaKlein_Nomadict_1

Natascha Klein (@tashi_ka): Best of the week 3 at #nomadict 2025

Natascha is a passionate photographer and media designer whose love for capturing the world around her began at an early age. Her journey into professional photography was shaped by her deep appreciation for aesthetics and storytelling, which she honed while studying media design.

Nomadict_Matterhorn_1

Jay Blatti (@jayblatti): Best of the week 46 at #nomadict 2024

Jay is a passionate traveler and photographer whose curiosity drives him to explore both faraway landscapes and hidden gems in his own country. In this article, he shares how travel and photography intertwine as journeys of discovery, growth, and creativity. Jay shares insights into his process, the lessons he’s learned, and the story behind the photograph that won the Best of the Week 46, 2024.

Winner photo_Stokksness_Icelnd_buerklestories

Carina & Max (@buerklestories): Best of the week 1 at #nomadict 2025

Max and Carina are passionate photographers who transform every journey into a discovery of nature’s unique moods and moments. Their work captures the interplay of light and shadow, and through a deep understanding of key elements, they create images that tell a story and evoke emotion.

@ericdsyv_Eric Deseyve_Nomadict_4

Eric Deseyve (@ericdsyv): Photographer based in Germany

Eric is a passionate landscape photographer based in Germany whose love for travel and the outdoors blossomed during the pandemic. A trip to the Dolomites in 2022 turned his hobby into a deeper pursuit, leading him to capture breathtaking landscapes with both his camera and drone. Eric now combines his hobby with professional gigs.