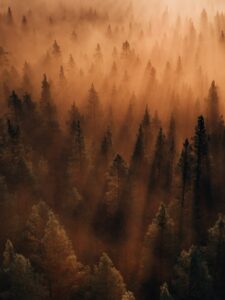
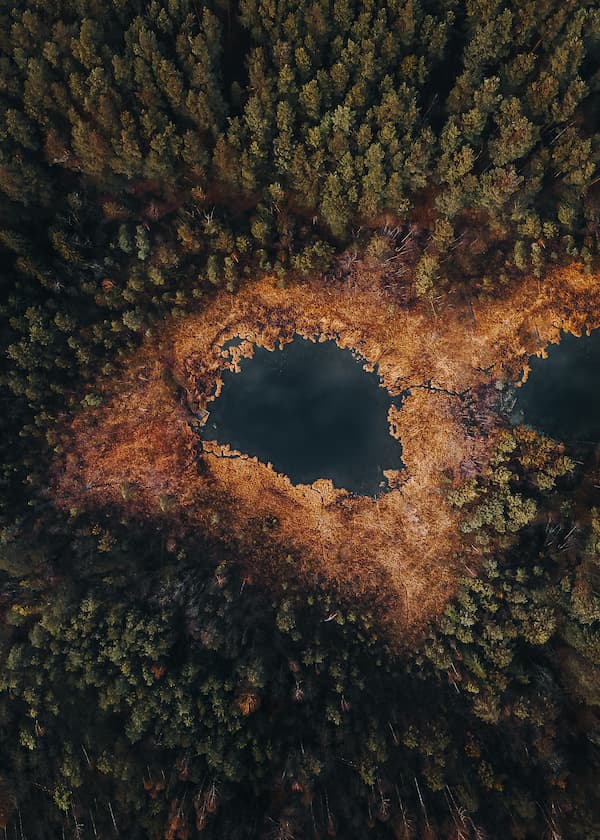
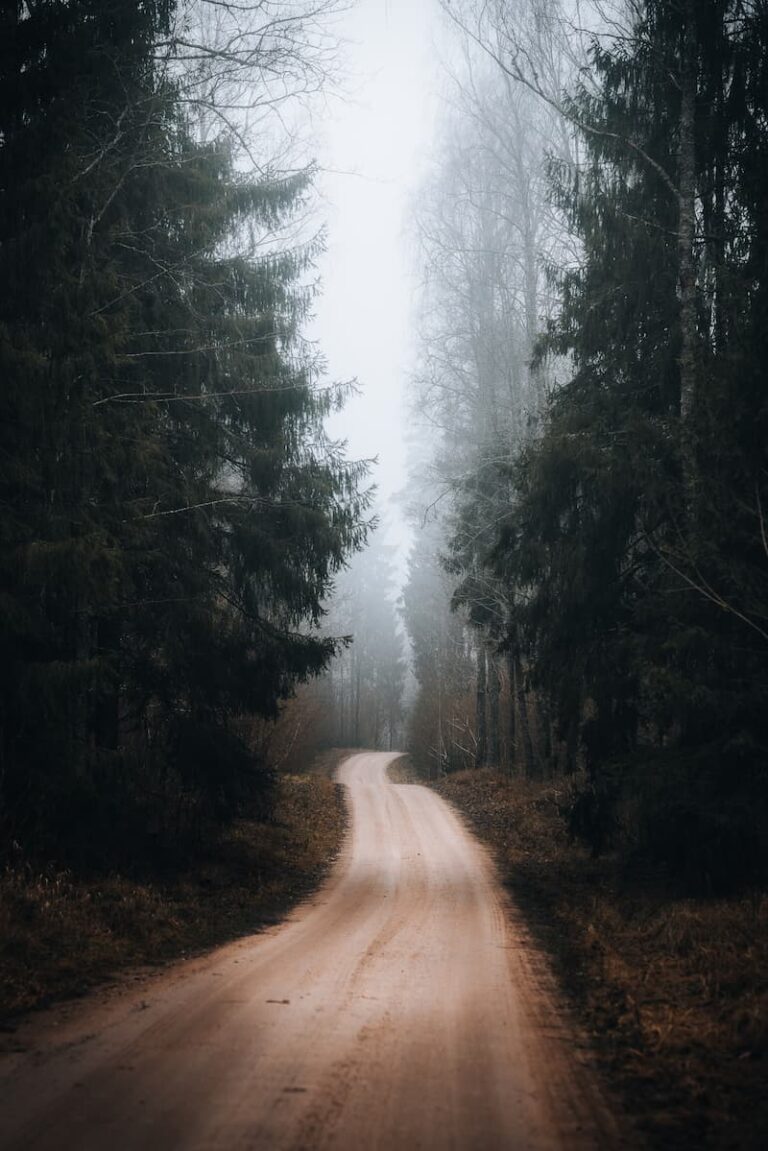
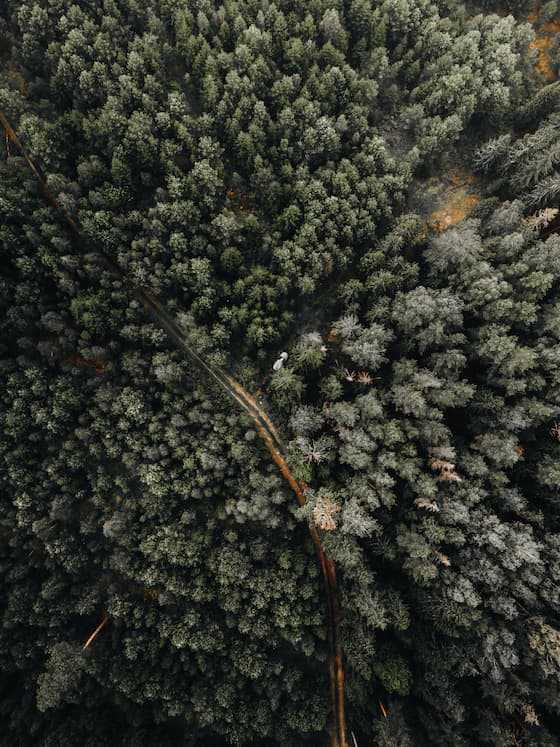
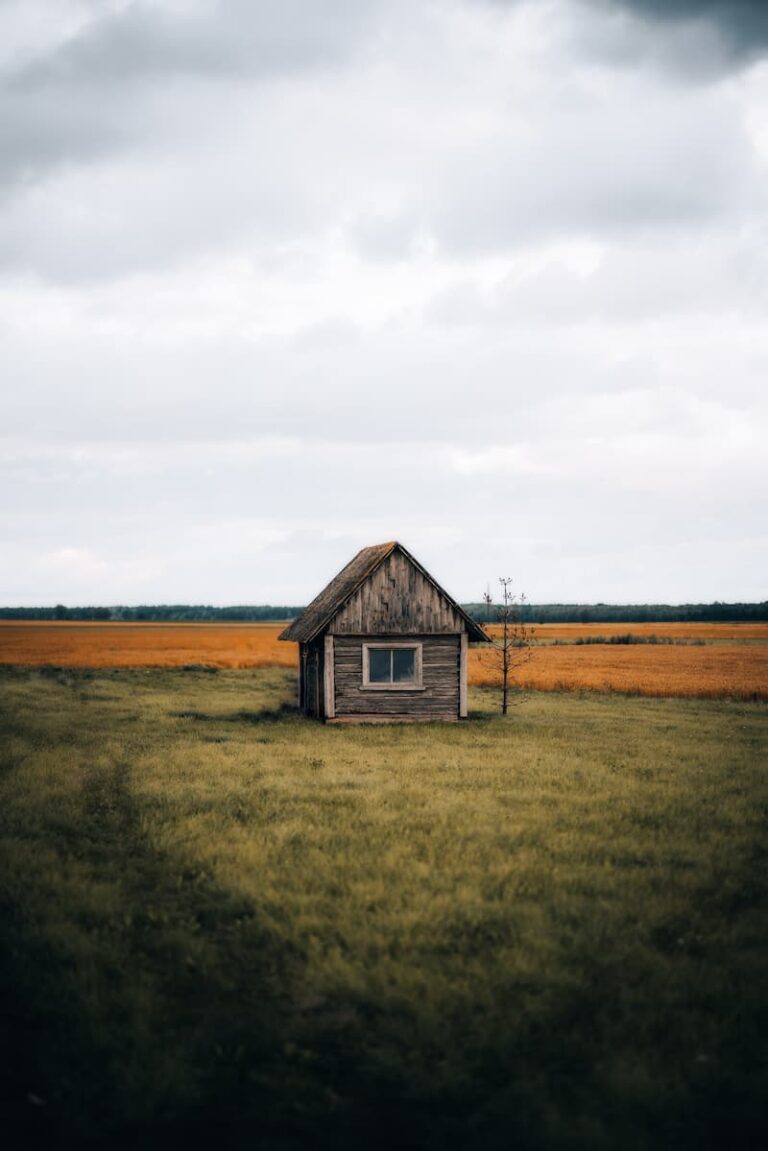
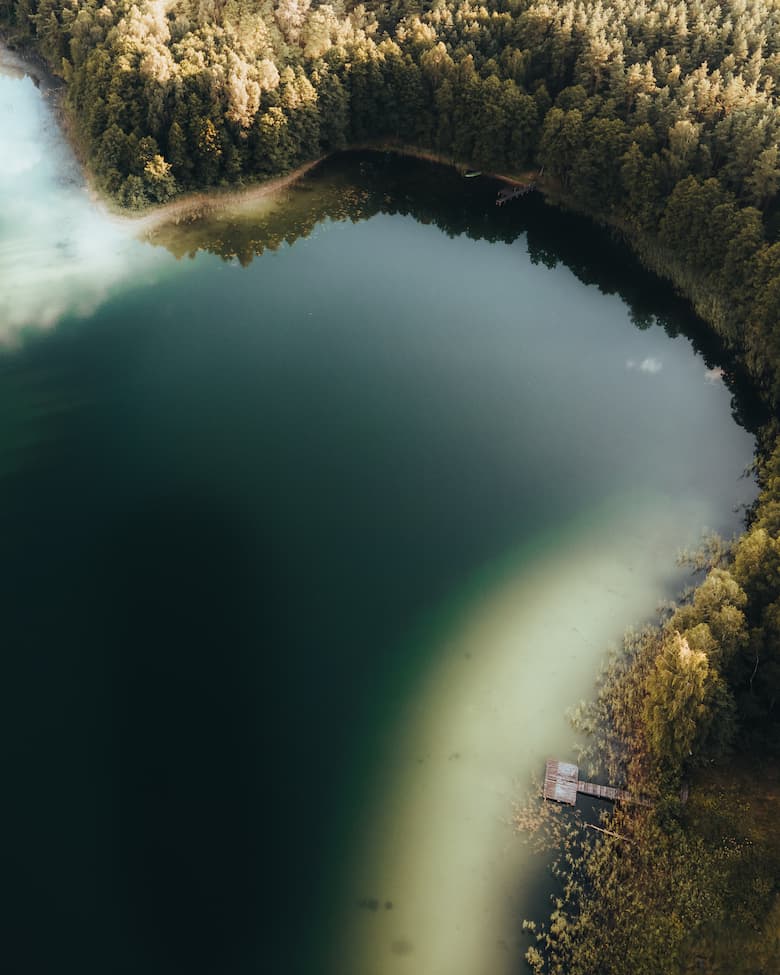
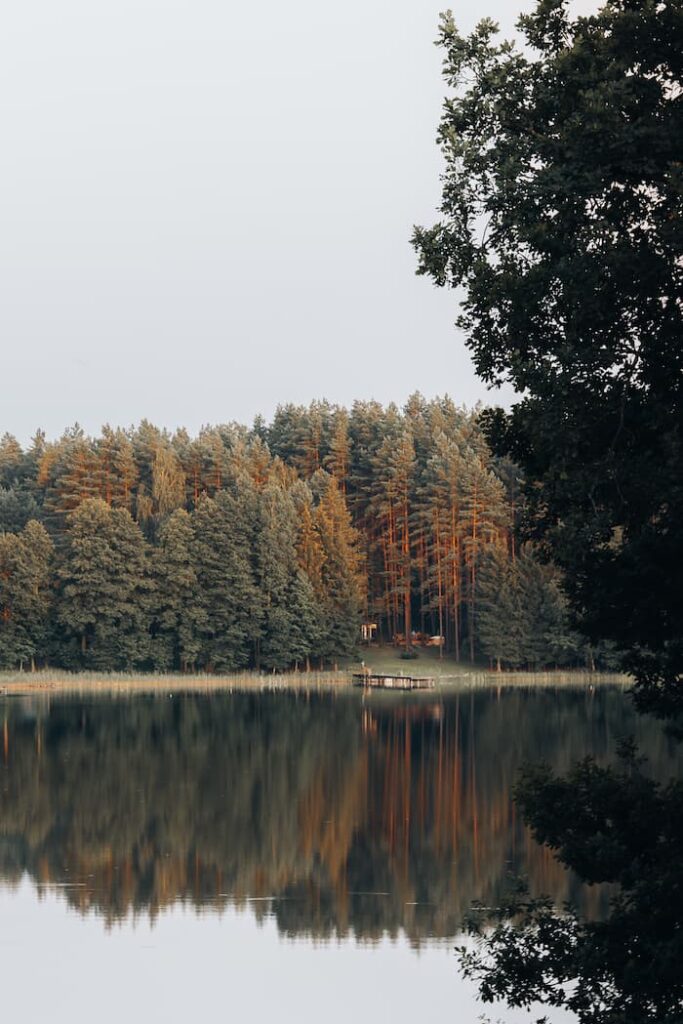
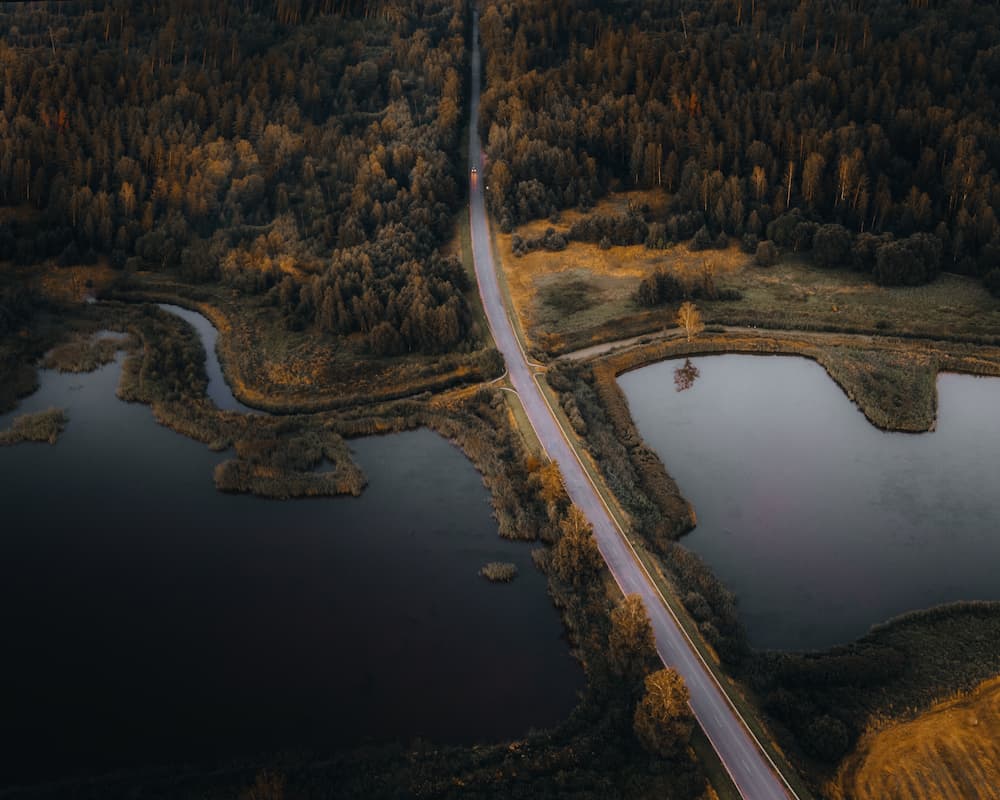
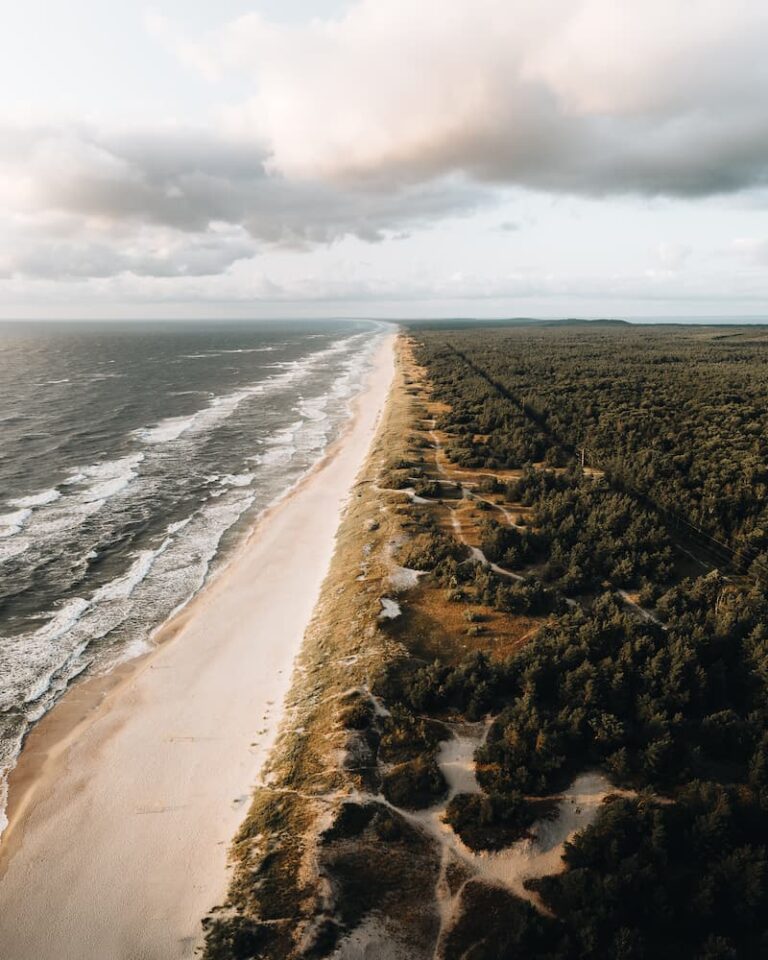
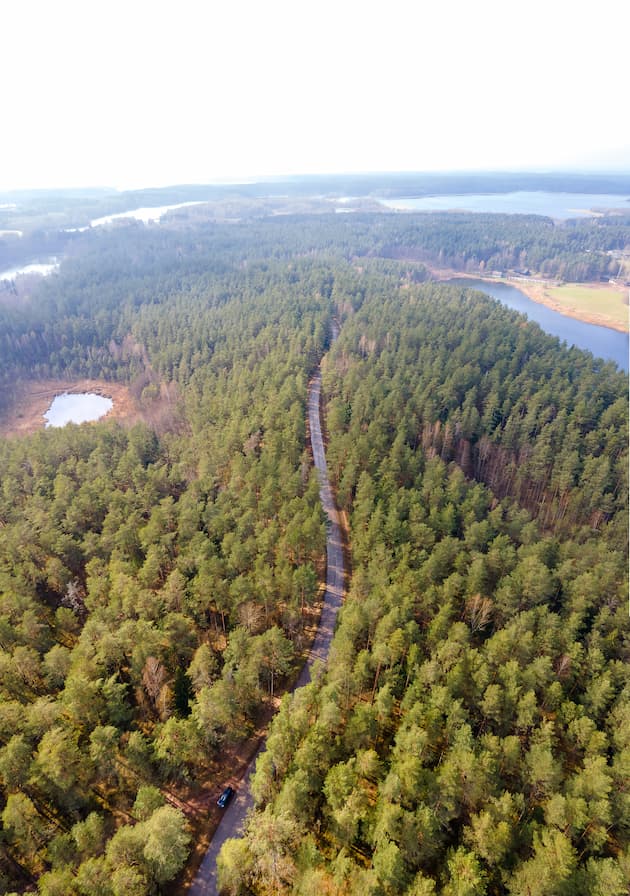
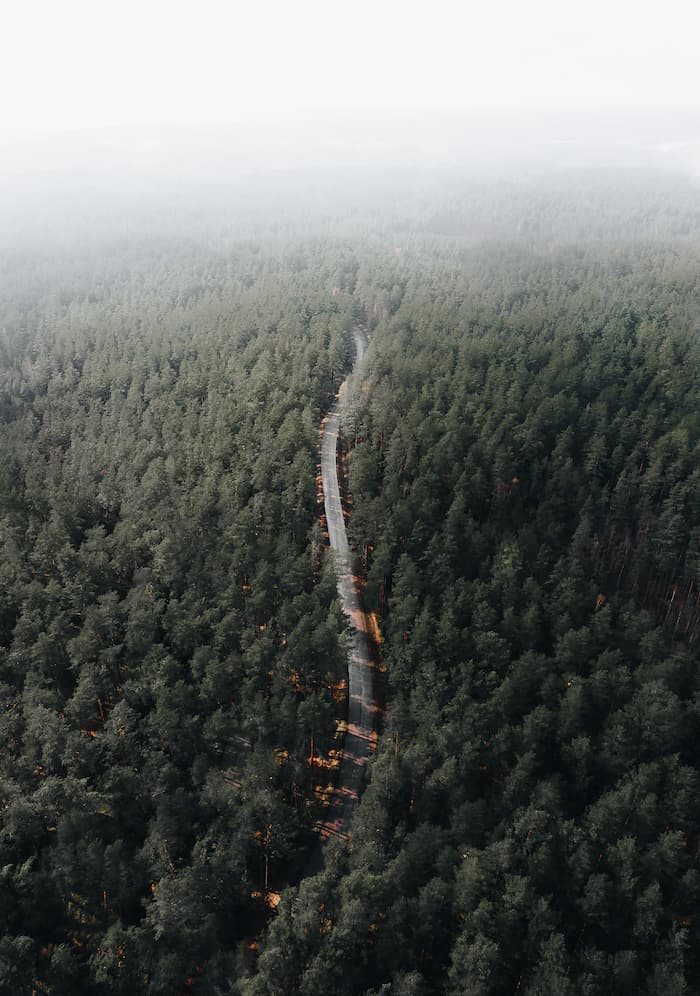
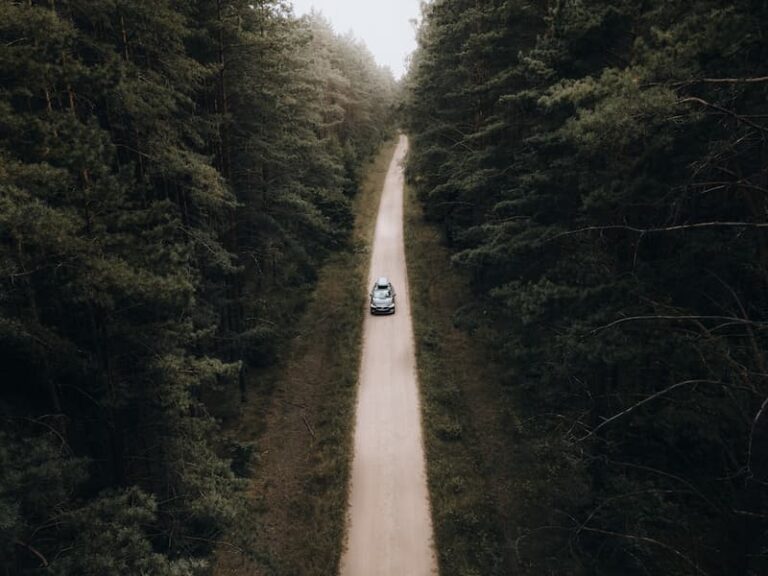
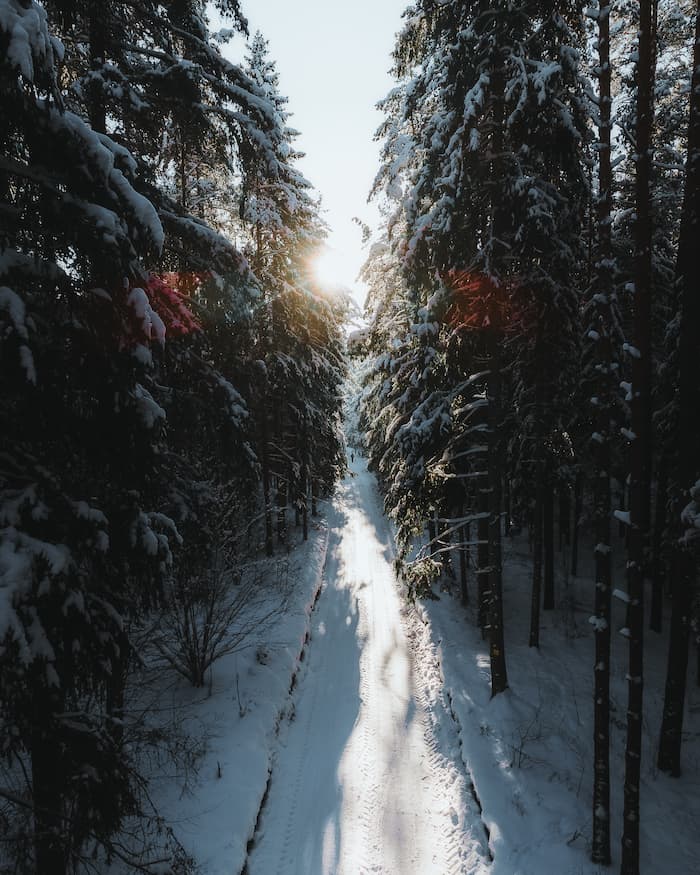
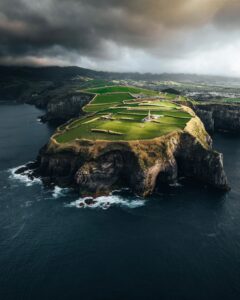
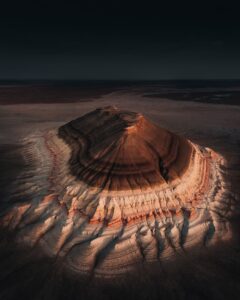
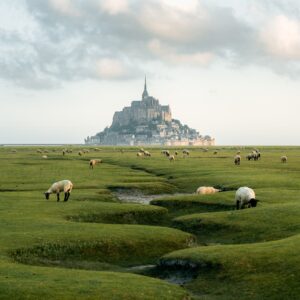
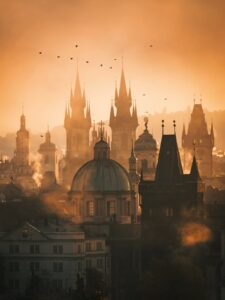
The magic of photography doesn’t end when the shutter closes at a great location. A large part of my artistic process comes alive during the editing phase. My goal is always to create an image that feels both cinematic and dreamy, yet retains its natural essence. One of my favorite examples of this approach is a photograph I took in my number 3 location, Labanoras Regional Park, Lithuania, at sundown. The setting sun on the left cast a dreamy glow that I knew would translate beautifully in post-processing.
Here’s a step-by-step breakdown of my editing process for this image:
1) Cropping: I began by refining the composition using the crop tool, creating a more balanced and polished frame.
2) Basic Adjustments: I then moved on to basic adjustments like exposure, contrast, highlights, and shadows, carefully tuning the whites and blacks. I typically reduce the saturation a bit to ensure the final image doesn’t appear overly vibrant. All this while, I kept a close eye on the histogram to make sure the image retained a balanced contrast and wasn’t overly bright or dark.
3) White Balance: An important yet often overlooked element, white balance can greatly influence the mood of the photo. I usually set it to ‘Auto’ during the shoot and maintain the same in Lightroom. If I’m not satisfied with the result, I manually adjust it to achieve the desired effect.
4) Tone Curve: To add depth and dimension to the image, I work on the tone curve, usually aiming to achieve an ‘S’ curve. This involves enhancing the shadows (which lend softness and dreaminess to the image) and slightly reducing highlights.
5) Color Grading: Given the nature-centric theme of my work, greens, and yellows are dominant in my photos. I focus on these hues during color grading, adjusting their saturation, brightness, and tone to create a unique aesthetic.
6) Spot Removal: I also take the time to remove any unwanted elements that might distract from the main subject of the image.
7) Masking: I often use masking techniques to selectively enhance certain parts of the image. Especially for the sky or light source (like the sun), I reduce clarity to diffuse the light and apply a dehaze effect within the mask to simulate a foggy atmosphere, thus creating a dreamy ambiance.
Each of these steps helps me transform a raw image into a dreamy yet natural representation of the scene. The key, I believe, lies in striking the right balance between basic corrections, tone curve adjustments, and color grading to craft a style that’s true to the natural world, yet bears the unique imprint of my artistic vision. Instead of overly vibrant, “sweet-looking” images, I aim for a more subdued, realistic color palette that mirrors the true essence of the landscapes I capture.
